

Blog
How to Build Raised Beds with Sleepers


A sleeper raised bed is simple in principle: level the ground, build a strong timber frame and fill it with suitable soil. Most problems appear later because the first course was uneven, the long sides lacked support or the wrong type of sleeper was used.
Getting those details right produces a bed that stays square, drains properly and remains comfortable to work in.
Plan a bed you can reach across
Mark the proposed bed with string before ordering timber. Around 1.2 metres is a practical width when you can work from both sides. If the bed will sit against a wall or fence, reduce the width to roughly 60–75cm so you can reach the back without standing on the soil.
As a useful reality check, the RHS raised-bed guide advises keeping beds below 1.5 metres wide. It also suggests a minimum path width of 45cm for a wheelbarrow and about one metre where wheelchair access is needed.
Height should match the intended planting:
- One 200mm-high sleeper course suits shallow-rooted herbs and many flowers.
- Around 300mm works well for salads and strawberries.
- A depth of 450mm or more gives larger vegetables, fruit bushes and shrubs more root space.
- A higher edge can reduce bending, but it will need stronger internal support and considerably more soil.
Check the actual dimensions of your sleepers. Products carrying the same name can differ in length, width and thickness.
Choose garden sleepers rather than old railway timber
New pressure-treated landscaping sleepers are the easiest option for most gardens. Where the wood will touch the ground or remain close to damp soil, ask the supplier whether it has been treated for ground-contact use. In timber specifications, this is generally described as Use Class 4.
Oak and other naturally durable hardwoods can last well without pressure treatment, but they are heavier, harder to drill and usually more expensive.
Be wary of reclaimed railway sleepers. Some were treated with creosote, which can have a strong tar-like smell and leave dark, oily deposits. UK controls on creosote-treated timber restrict its use for growing containers; the details appear in the HSE’s summary of UK REACH restrictions. For a vegetable, herb or children’s garden, timber of unknown origin is not worth the uncertainty.
Gather the tools and materials
For a straightforward rectangular bed, you will need sleepers cut to length, exterior-grade landscaping screws or coach screws, and treated timber stakes if the bed has several courses.
Useful tools include:
- Tape measure, string line and marker pegs
- Spade and rake
- Spirit level and builder’s square
- Drill-driver with suitable wood bits
- A saw rated for thick timber
- Eye protection, hearing protection and work gloves
Sleepers are awkward as well as heavy. Arrange help for lifting, and cut them close to the building area. If you do not have experience with a circular or mitre saw, ask the timber merchant to cut them to size.
1. Mark and prepare the footprint

Set out the rectangle using string and pegs. Measure both diagonals. When the diagonal measurements match, the corners are square.
Remove turf and perennial weeds from the footprint. Dig a shallow trench wide enough for the first course, then compact and level the base. A thin layer of compacted hardcore can help on soft ground, but the finished bed must still be able to drain.
Spend time on this stage. Packing soil beneath one corner after the bed has been filled is far more difficult than levelling it now.
2. Lay the first sleeper course

Place the sleepers in the trench with either the broad or narrow face upwards, depending on the planned height. Arrange the corners as simple butt joints and check:
- Each sleeper is level along its length.
- Adjacent sides meet at 90 degrees.
- The top surfaces sit at the same height.
- The frame has equal diagonal measurements.
If one sleeper rocks, lift it and correct the base beneath it. Do not pull an uneven frame into shape using screws.
3. Fix the corners securely

Drill pilot holes through the outer sleeper into the end of the adjoining piece. Pilot holes reduce splitting and make long screws easier to drive.
Use two corrosion-resistant landscaping screws at each corner, positioned at different heights. Choose a length that passes through the first sleeper and penetrates deeply into the second. The appropriate size depends on the thickness of your timber, so follow the fixing manufacturer’s guidance.
Check the frame for square again before fully tightening every joint.
4. Add further courses and supports
For a taller bed, place the next course with its corner joints offset from those below. This brick-like arrangement prevents a weak vertical seam from running through the whole structure.
Secure the layers to one another using long vertical timber screws or internal timber stakes. Fix stakes inside each corner and add more along long sides where soil pressure could make the sleepers bow. Sink the stakes firmly into the ground before screwing each course to them.
Two or three courses contain a surprising weight of wet soil. If the bed is unusually high, very long or intended to retain a slope, seek advice on posts, drainage and foundations rather than treating it as a basic planter.
5. Protect the timber without blocking drainage
Apply a suitable end-grain preservative to freshly cut faces. If the bed will contain edible crops, check that the product label allows the intended use and let it dry fully before adding soil.
A liner can reduce direct contact between damp soil and the sleeper walls. Fix a durable liner to the inside faces, stopping it just below the top edge. Leave the bottom open when building on soil so water and plant roots can move freely.
On paving or concrete, provide clear drainage exits at the base. Do not create a sealed wooden box, as waterlogged soil can damage both plants and timber. Before constructing a large bed on decking, confirm that the structure can support the weight of saturated soil.
6. Calculate and add the soil
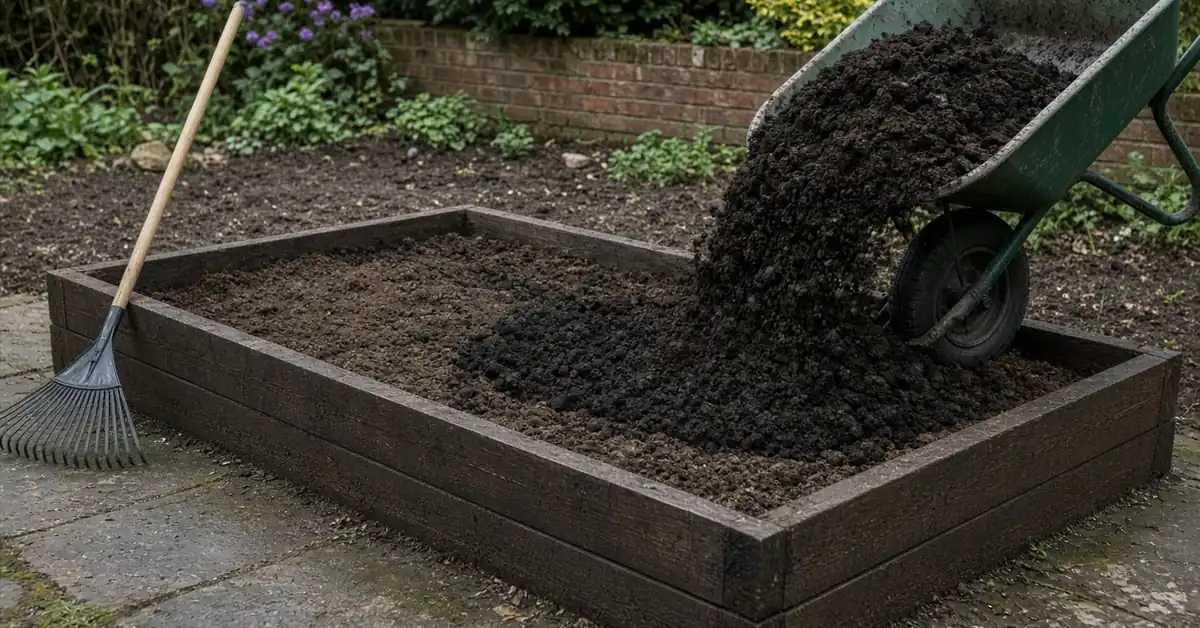
Calculate the required volume by multiplying the internal length, width and filling depth in metres. For example, a bed measuring 2.4m by 1.2m with a 0.4m filling depth needs approximately 1.15 cubic metres before allowing for settlement.
Use mainly good-quality topsoil mixed with mature garden compost. Pure compost breaks down and sinks too quickly. For a very deep bed, clean subsoil or inverted turf can be used in the lower section, leaving the upper 30–45cm for the better growing mixture.
Fill to around 5cm below the rim, firm the soil lightly and water it. If possible, allow it to settle before planting, then top it up where necessary.
Mistakes that shorten a sleeper bed’s life
The most common faults are easy to avoid:
- Using unidentified reclaimed sleepers around food crops
- Building directly on uneven or loose ground
- Forgetting support posts on long, high sides
- Filling the entire bed with compost
- Lining the bottom with waterproof plastic
- Leaving freshly cut ends untreated
- Filling immediately without checking every joint
A decorative finish cannot correct a weak frame. Structure and drainage come first.
Conclusion
A reliable sleeper raised bed begins below the visible timber. The first course must be level, the corners must remain square and the sides must resist the pressure of wet soil. Safe, purpose-sold landscaping sleepers remove the uncertainty associated with old railway timber.
Inspect the frame each spring, tighten any accessible fixings and replenish the surface with compost as the soil settles. Dealing with a small gap or slight bow early can add years to the bed’s useful life.
Frequently asked questions
Do sleepers need foundations for a raised bed?
A low bed can sit in a shallow, level trench on firm soil. Taller beds, retaining structures and soft or sloping sites may need compacted foundations and stronger posts.
How do you join sleepers at the corners?
Use butt joints with two long exterior landscaping screws or coach screws at each corner. Drill pilot holes before driving the fixings.
Should I line a sleeper raised bed?
A side liner can reduce contact between damp soil and timber. Keep the bottom open on natural ground so the bed can drain.
Can reclaimed railway sleepers be used for vegetables?
Avoid sleepers that may contain creosote or whose treatment history is unknown. Choose new landscaping sleepers confirmed as suitable for growing areas.
What should I fill a sleeper bed with?
Use mostly good topsoil mixed with well-rotted compost. Avoid filling the whole bed with multipurpose compost because it will settle rapidly.