

Blog
How to Build Raised Planter Beds: A Practical UK Guide

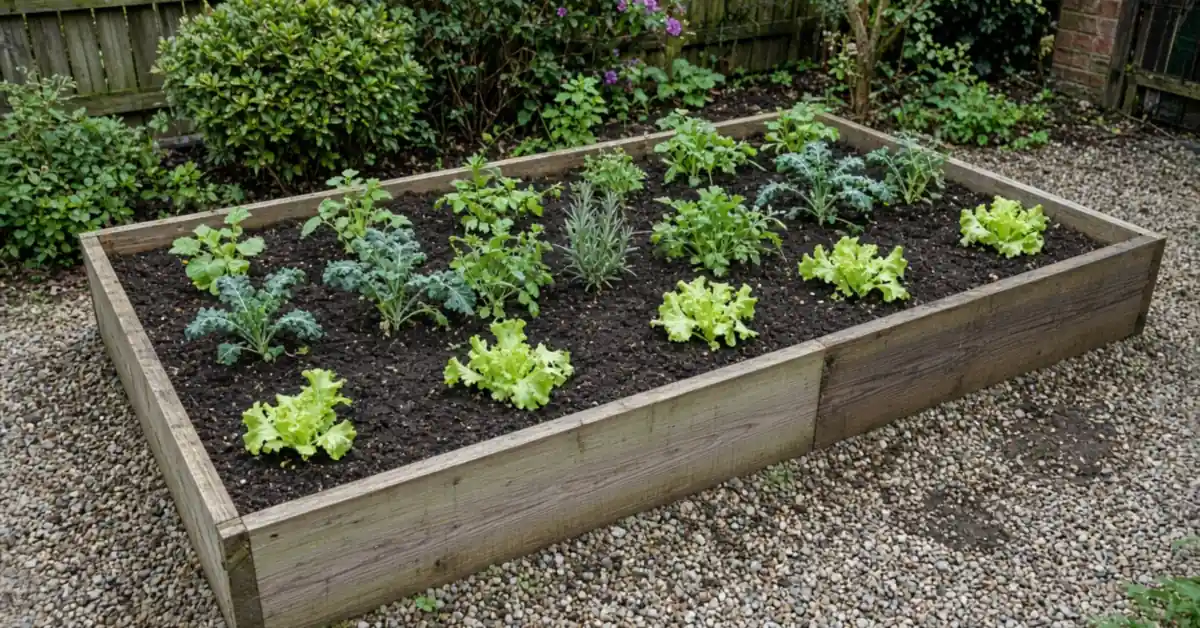
A good raised planter bed is not simply four boards filled with compost. It needs to be narrow enough to work without treading on the soil, strong enough to resist the outward pressure of wet earth and open enough to drain after prolonged rain.
This guide explains how to build an open-bottomed timber bed on soil or lawn. That is the most useful design for vegetables, herbs, soft fruit and cut flowers because roots, worms and water can move between the bed and the ground below. There is also advice for building on paving.
Plan the size before buying timber
Start with the person who will use the bed and the plants that will grow in it. A large bed may appear efficient on paper, but it soon becomes awkward if the centre is out of reach.
| Design choice | A practical starting point |
|---|---|
| Width | Up to 1.2m when accessible from both sides; up to 60cm when accessible from one side only |
| Length | 1.8–2.4m is easy to brace and work around; divide longer runs into separate beds |
| Growing depth | 20–30cm for salads, herbs and strawberries; 30–45cm for most vegetables and flowers; 45cm or more for fruit bushes and deep-rooted crops |
| Paths | At least 45cm for a wheelbarrow; around 1m where wheelchair access is required |
For productive crops, choose a reasonably sunny position close to a water source. Avoid the dry, competitive soil immediately beneath mature trees. Where possible, run a long bed north to south so one side does not remain permanently shaded. The RHS raised-bed guidance also recommends keeping the width below 1.5m and choosing the depth to suit the plants.
If reducing bending is the priority, test the proposed height before building: stack boxes or boards, then try reaching across them. As a useful guide, Thrive suggests about 62cm for many wheelchair users, 69–76cm when working while seated on the edge, and 90cm–1m for standing without bending. Comfort varies, so treat these as starting points rather than fixed rules.
Choose timber and fixings that will last
New pressure-treated softwood is usually the best balance of cost, strength and service life. Ask for landscaping timber suitable for contact with soil; this may be described as Use Class 4 or UC4. Naturally durable hardwood such as oak is heavier and more expensive, but it can be used untreated. Larch or Douglas fir may also be suitable where the supplier confirms the expected outdoor use and durability.
Modern pressure-treated timber is widely used for edible raised beds. The Wood Protection Association advises buying timber treated for its intended level of ground contact. Do not use old railway sleepers or any reclaimed wood that is oily, strongly scented or of uncertain origin; older sleepers may contain creosote. A rustic appearance is not worth unknown contamination.
For a basic rectangular bed, you will need:
- Boards or sleepers cut to length
- 50 × 50mm or 75 × 75mm corner posts, plus intermediate stakes for long or thin boards
- Exterior-grade structural timber screws or coach screws long enough for the chosen timber
- A permeable side liner, if desired, and galvanised wire mesh if burrowing pests are a local problem
- Quality topsoil, peat-free organic matter and horticultural sharp sand
Keep a tape measure, builder’s line, square, spirit level, spade, saw, drill/driver and appropriate protective equipment to hand. Sleepers are heavy; plan for two-person lifting rather than wrestling them into position alone.
How to build a timber raised planter bed
1. Mark out a square, reachable bed
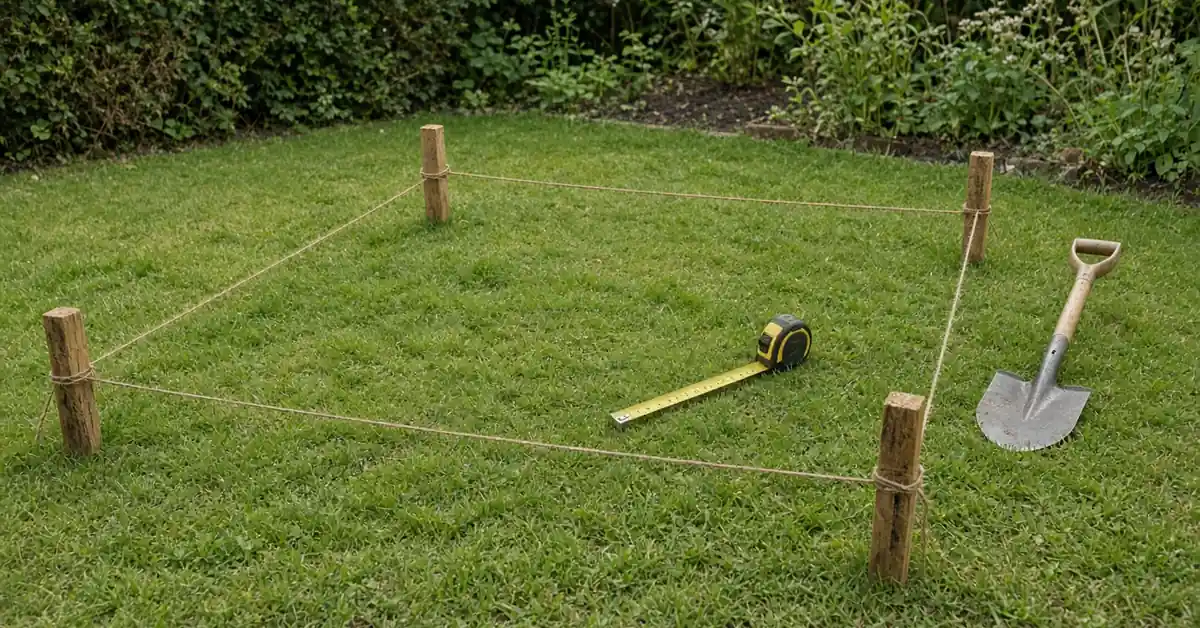
Set out the outer corners with pegs and string. Measure both diagonals: when they are equal, the rectangle is square. Walk around it with a wheelbarrow before committing to the position, and check for buried cables or pipes before driving long stakes.
When preparing a cutting list, decide whether the short boards will sit between the long boards or cover their ends. This small detail changes the finished internal dimensions and the amount of soil required.
2. Prepare a level, free-draining base
On lawn or soil, remove the turf and perennial weeds, then loosen compacted ground with a fork. There is normally no need for a solid floor, a plastic sheet or a deep gravel layer. Leaving the bottom open gives better drainage and allows deeper rooting. Lay galvanised mesh at ground level only where voles or other burrowing pests are a genuine problem.
On paving or concrete, make certain rainwater has an escape route. Leave drainage gaps beneath the lowest board or drill several outlets low in the sides, covering them inside with fine mesh so soil cannot wash out. Do not build over a blocked gully or direct runoff towards the house.
3. Cut and protect the timber
Cut every square piece and remove rough edges. Treat freshly sawn end grain with a compatible exterior wood preservative, following the timber supplier’s instructions. Pre-drill near board ends and in dense hardwood to reduce splitting. Use stainless-steel or suitably coated exterior fixings; ordinary indoor screws can corrode and fail in damp soil.
4. Build and level the first course
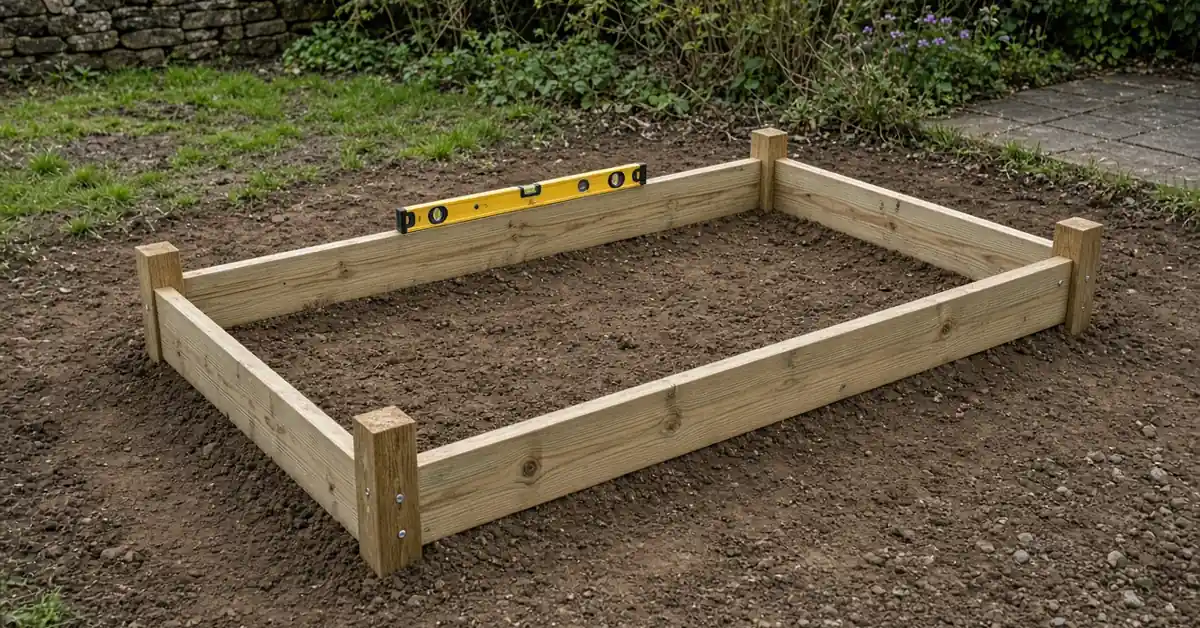
Dig a shallow trench just wide enough for the lower timbers. Set the first course in place and check the level along every side and across both diagonals. Correct low spots with compacted sub-base rather than loose handfuls of soil, which will settle unevenly.
Fix each corner through the face of one timber into the end of the next, or screw both boards to an internal corner post. Recheck the diagonals before fully tightening the fixings. A level first course matters: every small error becomes more obvious as the bed gets taller.
5. Add height and brace the long sides
Add further courses until the bed reaches the planned height. With sleepers, overlap corner joints between courses like brickwork and secure one layer to the next. With boards, fasten each layer to the corner posts.
Install an intermediate stake on long sides and screw the boards to it. For a tall bed or a span longer than about 2.4m, add internal cross-bracing between opposite sides. Soil becomes very heavy after rain; bracing now prevents bowed walls later.
6. Line the sides, not the whole base
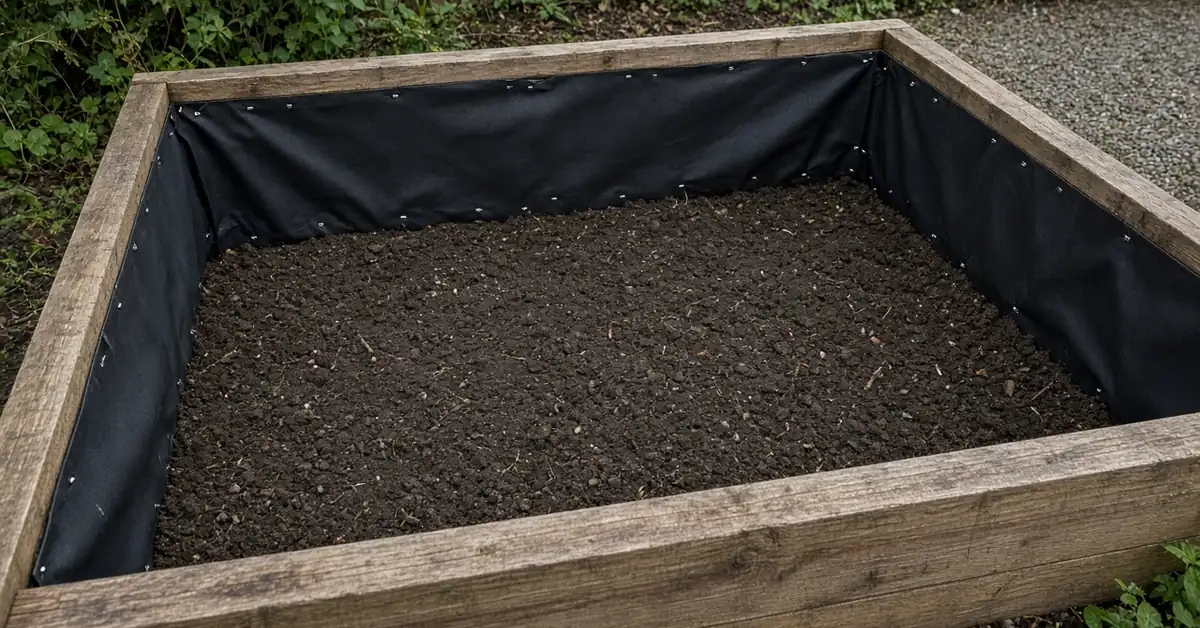
A side liner can slow contact between damp soil and timber. Fix a tough, permeable landscaping membrane just below the rim, keeping the open base and drainage outlets clear. A liner is optional with correctly specified treated timber, but useful where boards may eventually need replacing. Avoid sealing the bed like a pond: trapped water harms roots and accelerates decay around fixings.
7. Calculate and add the growing mix
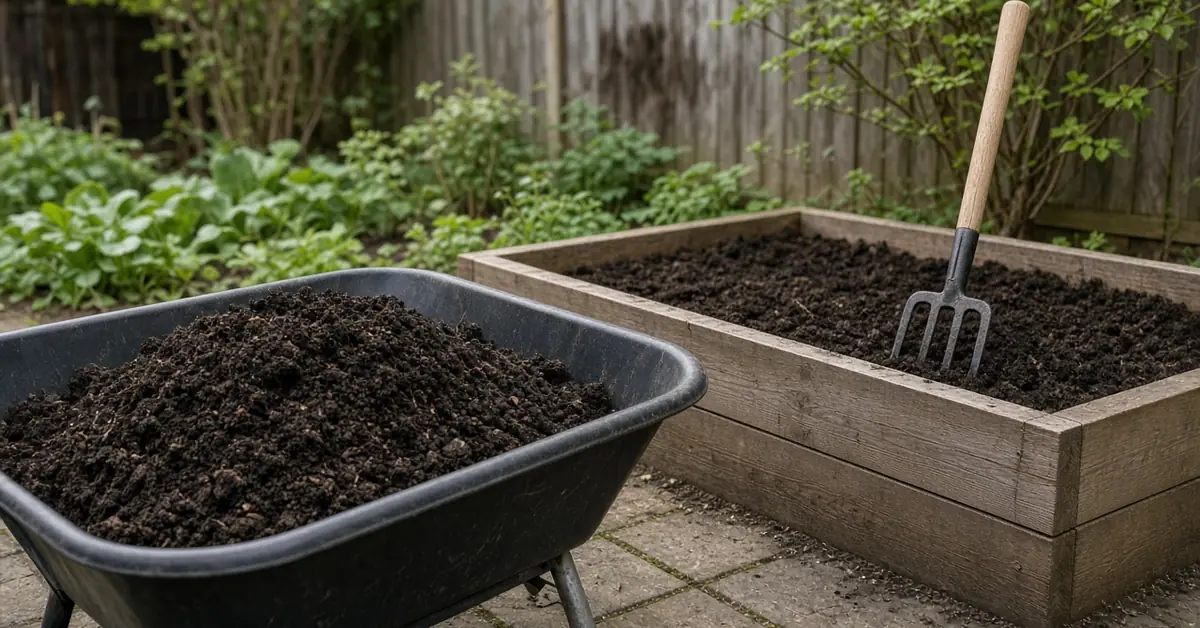
Calculate volume using the internal length × internal width × intended fill depth. For example, a bed with internal dimensions of 2.3m × 1.1m filled to 25cm needs about 0.63m³, or 630 litres, of growing material. Order a little extra because freshly placed soil settles.
Do not fill the bed entirely with multipurpose compost: it is expensive, dries quickly and slumps as it decomposes. For an all-round growing mix, the RHS suggests seven parts topsoil, three parts organic matter such as garden compost or well-rotted manure, and two parts horticultural sharp sand. Use horticultural sand rather than builders’ sand. Mix the ingredients as the bed is filled, break up clods and firm gently without compacting the soil.
Stop about 5cm below the rim so water and mulch stay inside. Water thoroughly, allow the surface to settle for a week or two, then top up where necessary.
8. Finish for easier maintenance
Round or sand exposed corners and make sure no screw heads project. Add a 3–5cm organic mulch after planting to slow evaporation and suppress annual weeds. A soaker hose or drip line laid before crops fill the bed makes summer watering quicker and more even.
Each spring, add a layer of mature compost rather than emptying and refilling the bed. Check boards, braces and fixings at the same time. Designing the frame so individual boards can be unscrewed and replaced will extend the useful life of the whole structure.
Mistakes that shorten the life of a raised bed
The most common failure is building too wide, then stepping into the bed and compacting the soil. Other avoidable problems include relying on thin boards without intermediate supports, filling with compost alone, burying untreated cut ends and blocking drainage on a hard surface. Unknown reclaimed timber is another false economy: if its treatment history cannot be confirmed, use it elsewhere or not at all.
Conclusion
The best raised planter beds begin with three sound decisions: a width you can comfortably reach, timber and fixings suited to constant damp, and an open drainage route. Get those right, then build the first course level, brace the long sides and fill with a stable soil-based mix. The result will be easier to plant, water and repair for years.
Looking ahead, replaceable boards and simple water-saving irrigation are more valuable than elaborate construction. They allow the bed to adapt as crops change, timber ages and dry spells place more pressure on watering. Build for maintenance as well as appearance, and the planter will remain useful long after its first harvest.
FAQs
Can I build a raised planter bed on a slope?
Yes, but the bed itself must be level. Step it into the slope and securely support the downhill side. A tall structure retaining a large bank of soil needs professional advice rather than a lightweight timber frame.
Can I use pallet wood?
Only use clean, sound pallets with a known history and no paint, oil spills or chemical contamination. Pallet boards are usually thin and short-lived outdoors, so new landscaping timber is often safer and better value.
When is the best time to build a raised bed?
It can be built at any time, but autumn and winter are convenient because the bed can settle before spring planting. Avoid digging when the ground is frozen or saturated.
How soon can I plant after filling it?
Wait one or two weeks if possible, then top up any settlement before sowing. Established plants can be added sooner if the mix is firm, moist and not dominated by fresh manure.