

Blog
How to Make a Bed Properly: A Step-by-Step Guide


A well-made bed does not require complicated folding or a mountain of decorative cushions. The real difference comes from fitting each layer correctly, keeping the bedding evenly aligned and following an order that makes the job easier. The same sequence also produces a professional, hotel-style finish at home.
This guide explains how to make a bed properly from scratch after changing the linen, and how to make a bed professionally so the result looks calm and even. It also includes a shorter routine for straightening the bed each morning.
What you will need
Gather everything before stripping the bed so you are not searching for a missing pillowcase halfway through:
- A mattress protector
- A fitted or flat bottom sheet
- An optional flat top sheet
- A duvet and clean duvet cover
- Pillows, protectors and pillowcases
- An optional throw or bedspread
Check that the bedding matches your UK mattress and duvet sizes. Do not rely on labels alone if you have a particularly deep mattress or use a topper. Measuring the mattress depth can prevent a fitted sheet from repeatedly slipping off.
Use clean bedding that is completely dry, or smooth and iron it according to the care label if you want a crisper finish. Stubborn creases often release more easily while the fabric is still slightly damp.
1. Strip and air the bed
Remove the duvet, pillows, sheets and mattress protector. Open the bedroom window if the weather permits and leave the mattress uncovered while you collect or change the bedding.
For the daily morning routine, fold the duvet back rather than making the bed immediately after getting up. This gives the mattress and bedding an opportunity to air before you straighten them.
Use this time to check the mattress for marks and inspect the bed frame. On a wooden bed, dust can collect around slats, joints and the space beneath the frame, so an occasional vacuum helps keep the entire sleeping area fresh.
2. Fit the mattress protector
Place the mattress protector over the mattress with its label or care tag at the foot. Stretch each elasticated corner underneath the mattress and smooth out any creases.
The protector should sit firmly without pulling the mattress corners upwards. If it moves beneath the sheet or feels unusually tight, check its size and depth. Waterproof protectors can be useful for children’s beds and guest rooms, while breathable quilted protectors often feel quieter and softer for everyday use.
If you use a topper, place it beneath the protector unless its instructions say otherwise. Keeping the protector directly under the bottom sheet stops the topper and mattress from shifting independently.
3. Put on the bottom sheet
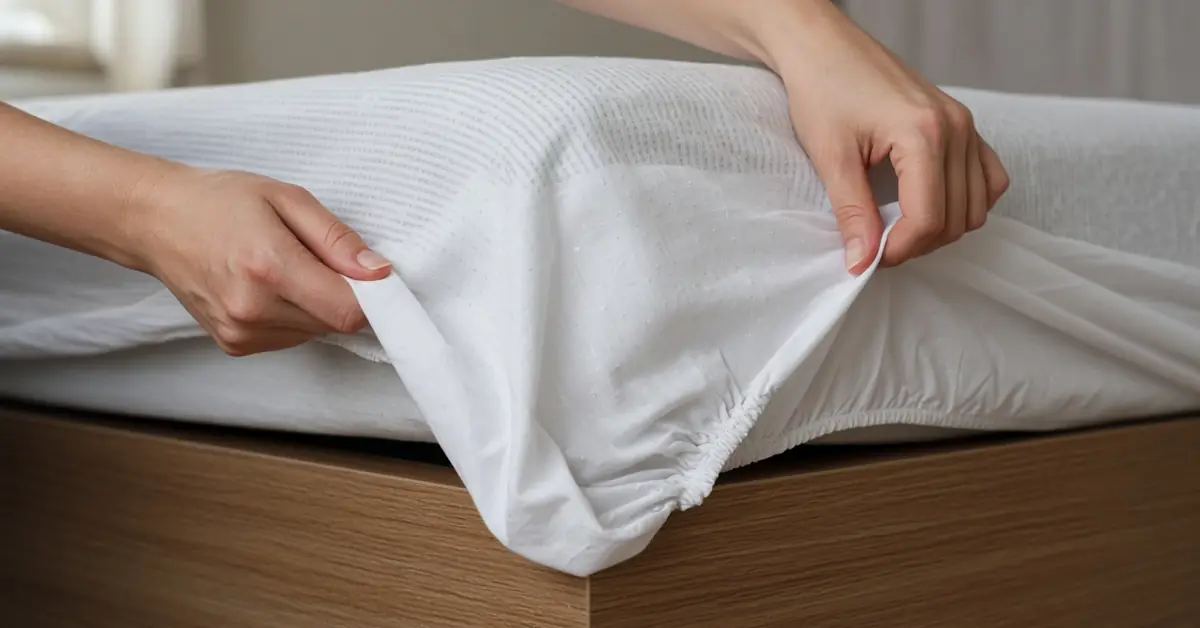
With a fitted sheet, begin at the head of the bed. Fit one corner, then secure the diagonally opposite corner before attaching the remaining two. Working diagonally helps maintain tension and makes the final corner easier to stretch into place.
Run your hands from the centre towards the edges to smooth the fabric. Check that the elastic is tucked beneath the mattress rather than resting against its side.
If you are using a flat sheet as the bottom layer, centre it so an equal amount hangs over each side. Tuck the fabric beneath the head and foot of the mattress before creating hospital corners:

Lift the side of the sheet approximately 30 centimetres from a bottom corner. Fold the raised fabric onto the mattress so it forms a neat 45-degree angle. Tuck the loose section underneath, lower the folded section and tuck that in firmly. Repeat at the remaining corners.
4. Add a top sheet if you use one

A top sheet sits between you and the duvet. It can provide an easily washable layer in winter or act as a light cover during warmer nights.
Spread it evenly with the finished hem at the head of the bed. If the sheet has a printed or decorative side, place that side facing down. It will then be visible when the upper edge is folded back over the duvet.
Tuck the bottom edge beneath the mattress. You can leave the sides untucked for more freedom of movement or tuck them in for a crisp, secure finish.
5. Put the duvet into its cover
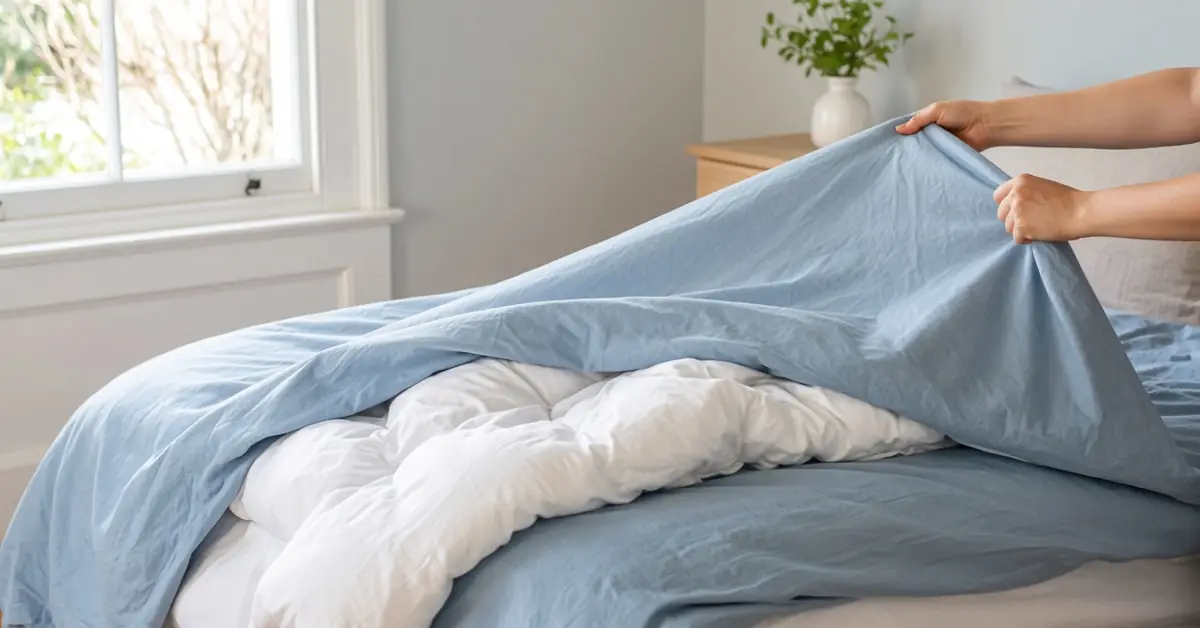
The inside-out method avoids having to climb into the duvet cover and works well for most UK duvet sizes:
- Turn the duvet cover inside out and lay the duvet flat on the bed.
- Put your hands inside the cover and take hold of its two top corners.
- With the cover still over your arms, grasp the corresponding top corners of the duvet.
- Lift and shake so the cover falls down over the duvet.
- Match the bottom corners, fasten the opening and give the duvet a final shake.
If the cover has internal ties, loops or corner fastenings, secure them before shaking. This prevents the duvet from sliding down and gathering inside the cover.
For a heavy king or super king duvet, work on the mattress rather than lifting the full weight away from your body. The roll method—laying an inside-out cover flat, placing the duvet on top and rolling both together—can also require less effort.
6. Position and smooth the duvet
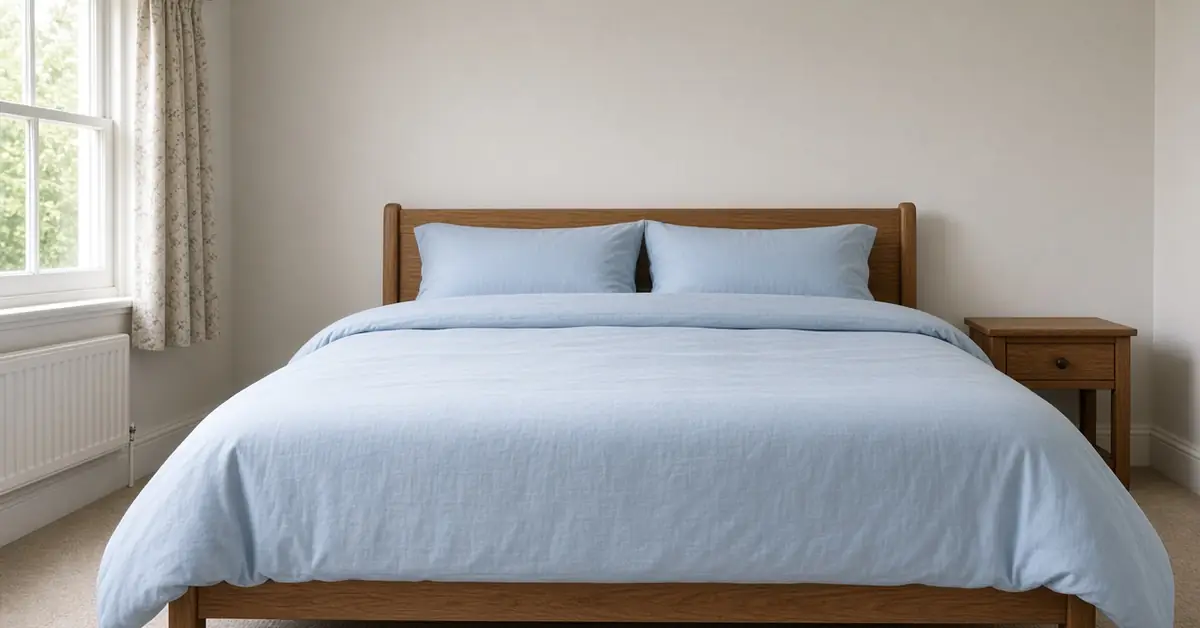
Lay the covered duvet on the bed with its fastening at the foot. Pull the upper edge towards the headboard and adjust the sides until the drop is even.
Rather than pressing the duvet completely flat, smooth out obvious creases and gently lift it to redistribute the filling. Hold two corners and shake the duvet firmly so the filling reaches the edges, then run your hands along the cover to locate any empty sections and spread the filling into them. Smooth the surface from the centre outwards rather than dragging one side, which can pull the duvet off-centre. Make sure each duvet corner sits inside the corresponding cover corner; otherwise, the bed can look uneven even when the cover is straight.
You can leave the duvet close to the pillows for a simple everyday finish or fold its top edge back to reveal the top sheet.
7. Add the pillows
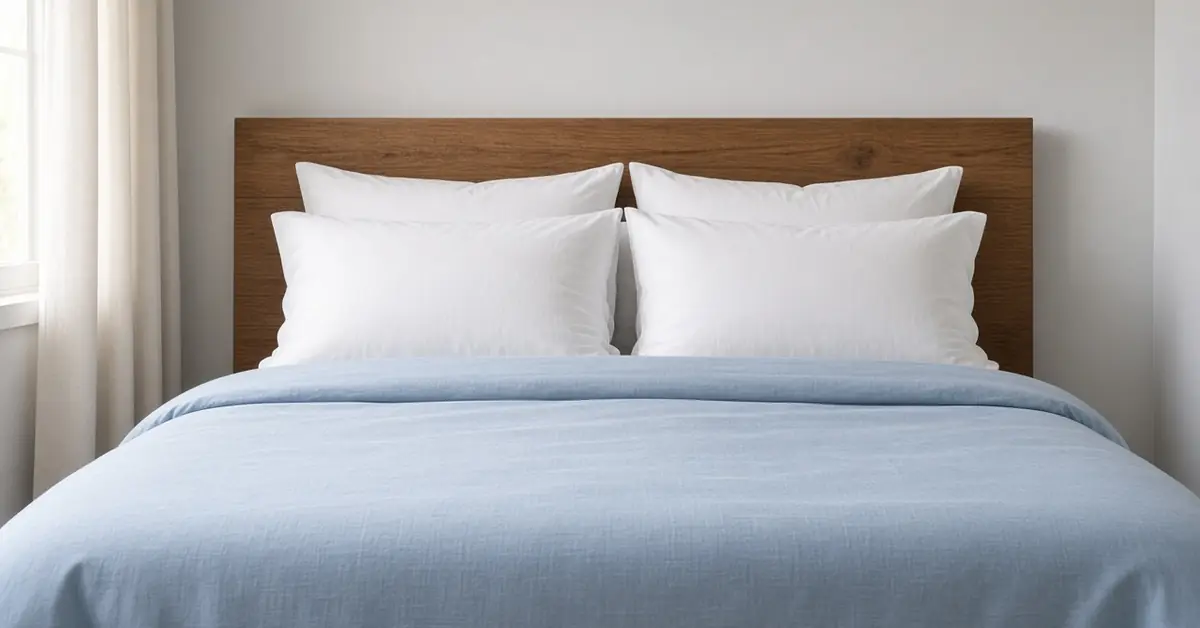
Plump each pillow before putting on its case. Push the pillow fully into both corners, then tuck any internal fabric flap over its open end. Hold the pillow at both sides, compress it inwards and release it several times to restore its loft.
Place the pillows flat for a relaxed sleeping arrangement or stand them against the headboard for a neater daytime appearance. On a double bed, two pillows side by side create a clean finish. If you sleep with two pillows each, arrange the second pair behind or underneath rather than forming an unstable pile.
Turn the open ends of the pillowcases towards the outside edges or towards the centre so they are less noticeable. Whichever direction you choose, keep it consistent. For a more professional look on a double bed, two pillows per person can be stacked flat or stood upright, with the openings facing the centre. If you add a decorative cushion, work from large to small and keep the arrangement simple — see our guides to dressing a bed and dressing a bed with cushions.
8. Complete the final check
Stand at the foot of the bed and check three details: the duvet should hang evenly, the pillows should sit at the same height and no sheet or protector should be visible along the sides.
A throw can be folded across the lower third of the mattress if it will genuinely be used. Fold it as a clean rectangle, keep it centred or offset it deliberately rather than leaving it half-centred, and keep it clear of the floor so an attractive wooden footboard stays visible. For placement options in more detail, see how to dress a bed with a throw.
For the morning routine, you only need to straighten the bottom sheet, pull the duvet into alignment and reset the pillows. Once the layers fit properly, making the bed should take only a few minutes.
Fixing common bed-making problems
If the fitted sheet keeps coming loose, it is usually too shallow for the mattress rather than poorly fitted. Measure the mattress and topper together, then choose the appropriate pocket depth.
A duvet that bunches inside its cover may be the wrong size, positioned sideways or missing internal corner fastenings. Match all four corners before shaking it into place.
Persistent wrinkles often result from leaving clean bedding bundled in a laundry basket. Remove it promptly after drying, fold it neatly and smooth each layer as it goes onto the bed. Perfectly ironed linen is optional; correct alignment matters far more.
The most frequent problem that spoils a professional finish is using bedding that is the wrong size. An oversized fitted sheet wrinkles, while a small duvet leaves its cover looking empty at the edges. Avoid styling one side of the bed completely before the other; centre each layer first, then work around the bed.
A quick daily reset for a professional finish
You do not need to repeat the full process each morning. Redistribute the duvet with one shake, pull it square with the mattress, plump the sleeping pillows and replace the throw along the same visual line. Once the foundation is secure, this takes only a few minutes.
A neat finish starts with a supportive mattress. If yours has lost its shape, see the Riardessa 2000 pocket sprung medium-firm mattress or the Fimiara 2000 pocket gel pillow top mattress.
Conclusion
Making a bed properly is mainly a matter of order and fit. Air the sleeping surface, secure the protector, tension the bottom sheet, align the duvet and finish with pillows that are properly filled and positioned. These small details produce a bed that feels comfortable and looks professionally finished rather than merely tidy.
The best long-term approach is to keep the system simple. Well-sized, washable bedding and a limited number of useful layers will remain easier to manage as the seasons, mattress and needs of the household change. A routine that can be repeated without frustration will always be more valuable than an elaborate finish that lasts for one day.
Frequently asked questions
How often should you change your bed sheets?
Weekly is a practical routine for many households. You may prefer to change them more often during hot weather or if you sweat heavily, have an allergy, share the bed with a pet or are recovering from illness.
Should you make the bed immediately after waking?
It is better to fold back the duvet and let the bed air first. Straighten the bedding once you have opened the window, showered or completed another part of your morning routine.
How do you stop a fitted sheet from coming off?
Measure the full mattress depth, including any topper, and choose a sheet with a suitable pocket. Fit diagonally opposite corners first and ensure the elastic sits completely beneath the mattress. For a fuller diagnosis and further fixes, see how to stop bed sheets from coming off.
What is the easiest way to put on a duvet cover alone?
Turn the cover inside out, hold its top corners from inside and grasp the matching duvet corners. Shake the cover down over the duvet, align the bottom corners and fasten the opening.
Do you need both a fitted sheet and a flat sheet?
No. A fitted bottom sheet is sufficient for most people. A flat top sheet is optional and can provide an extra washable layer or a lighter covering in warm weather.
Is a fitted sheet or flat sheet better for a professional-looking bed?
Both can look professional. A fitted sheet is quicker for everyday use, while a flat sheet allows traditional hospital corners and a more formal hotel finish.
How do I stop the duvet looking flat?
Shake it from the corners before placing it on the bed, then spread any bunched filling towards the edges. Regular plumping matters more than piling on extra covers.
Should a duvet be tucked under the mattress?
Usually not in a modern UK bedroom. Let it hang evenly at the sides and foot. Tucking is better suited to flat sheets, blankets and some traditional hotel arrangements.
Which way should pillowcase openings face?
Point the openings towards the centre of a double bed or away from the main view. Keeping them consistent makes the arrangement look neater.